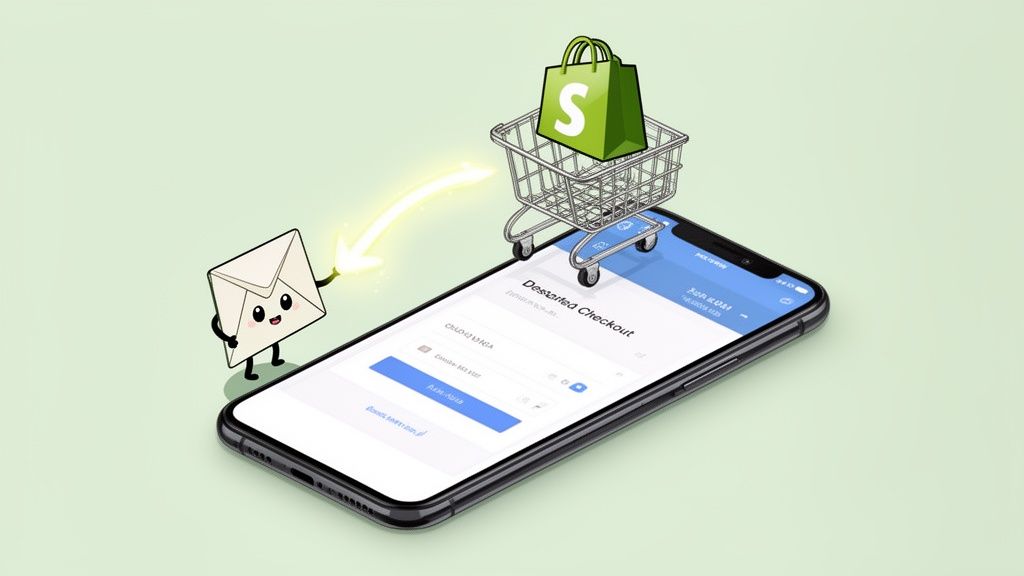
According to Klaviyo, the industry standard for cart abandonment email processes is $3.45. However, did you know that each subscription generates $0.86 due to "browse abandonment"?
"Site abandonment" — what about that? Furthermore, are you aware of the distinction between "true" and "abandoned" carts? There are hidden gold pots scattered throughout your Shopify site. We'll also teach you how to find the gold in today's Deep Dive so you can increase your BFCM weekend sales!
Let’s deep dive 👇

4 Abandonment Workflows to Catch Almost-Lost Shopify Customers
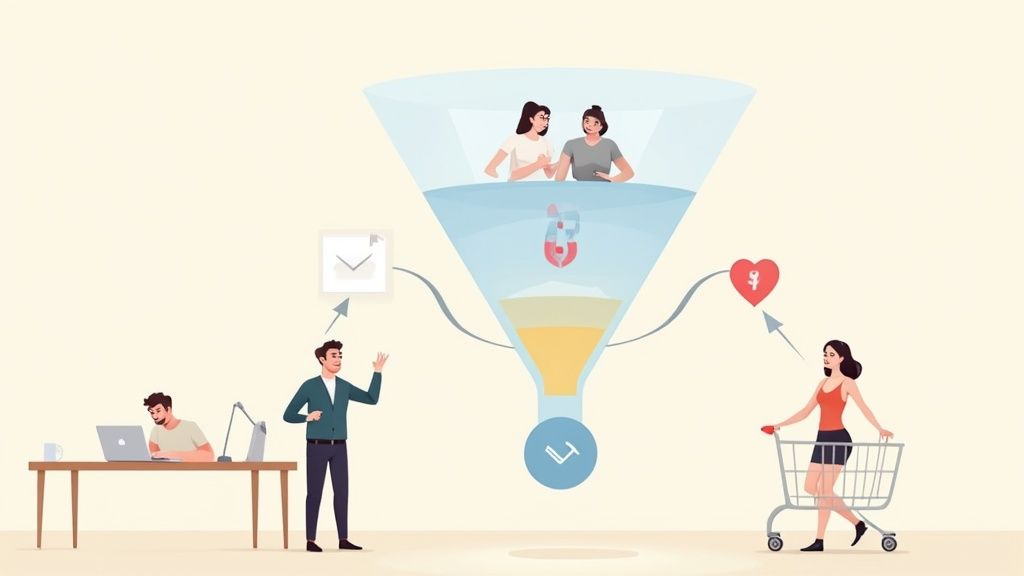
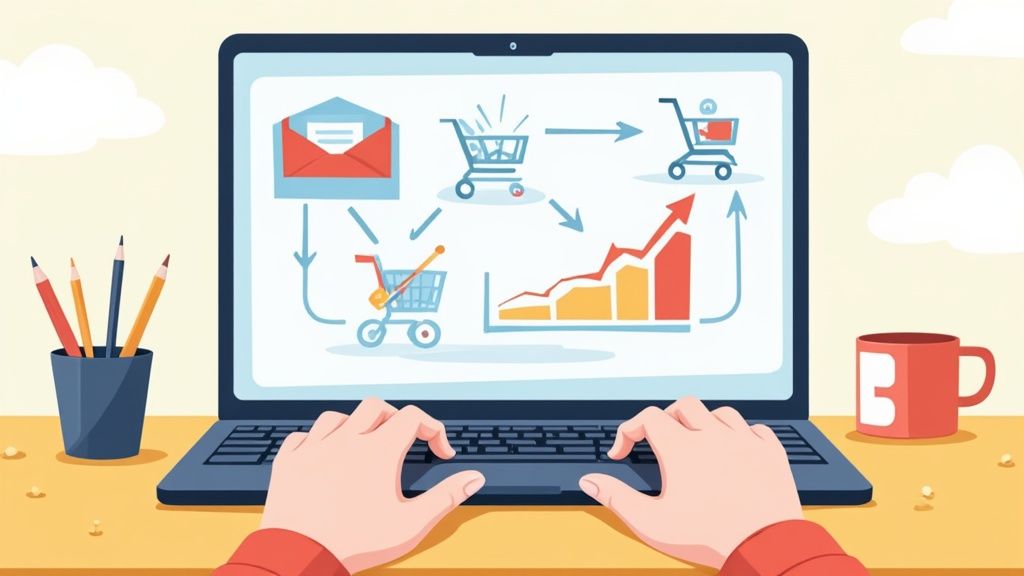
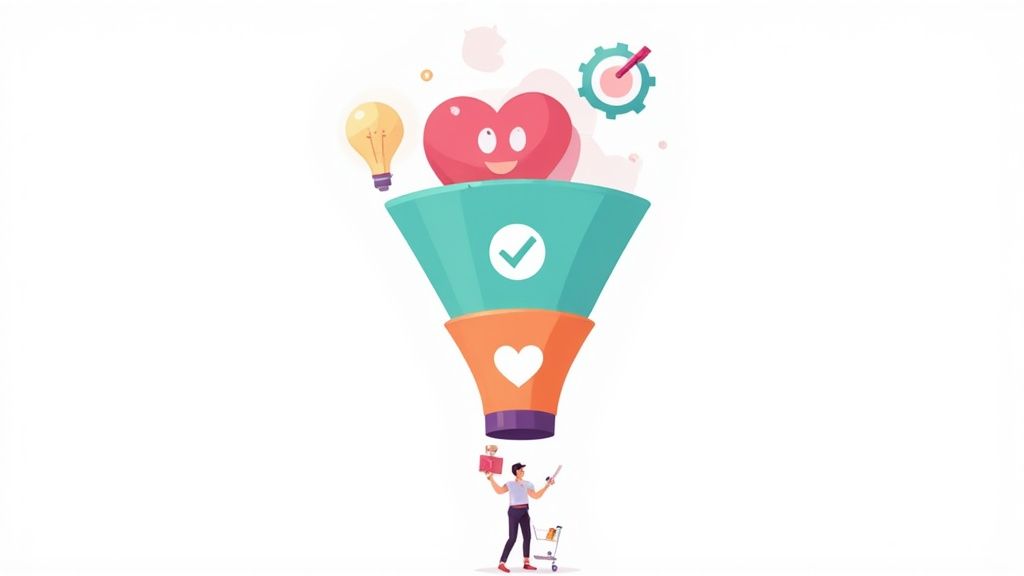
To recover nearly lost business, you can pursue the following four categories of abandonments:
- Site abandonment
- Browse abandonment
- “True” cart abandonment
- Checkout abandonment
1. Site Abandonment Workflow
When a subscriber visits your website but does not see any products, add any to their basket, or complete the checkout process, it is known as site abandonment. The "Active on Site" metric must be set up for this flow to function. Additionally, you must already have a subscriber on your newly created "site abandonment" list.
⚙️ How to set up on Klaviyo:
Open Klaviyo and click “Integrations” on the left-hand side of the panel.
Check the box that reads, “Automatically add Klaviyo onsite JavaScript (recommended).”
You're done! Klaviyo is going to begin monitoring the "Active on Site" measure. You ought to be able to see this under the "Analytics" page as well after a few minutes.
💡 Pro Tip: Alternatively, you might choose to substitute "Has not been in flow at any time" with several weeks as the last filter instead of hours. However, proceed with caution as this flow may come across as a bit spooky. Adding humor to your emails is the greatest way to get beyond this.
2. Browse Abandonment Workflow
When a person visits a product page, peruses the items, scrolls around, but doesn't add any to their cart, and then departs, this is known as browse abandonment. Even though it's still a low rung on the ladder, they raise the "buyer intent" ladder because they looked at a specific product. Here's where a product-focused retargeting campaign can begin. Return them to the item they are purchasing. Alternatively, you may direct them to a product review website, video, or other educational resource.
⚙️ Klaviyo setup:
Your account can be found in Klaviyo's upper-right corner. Press the menu button and select "Setup Web Tracking." Include the code that they showed for the item. Your Shopify theme's backend contains a liquid template. This enables Klaviyo to monitor consumers' preferred goods. By completing step 3 on the "Setup Web Tracking" page, you may confirm that you have done everything correctly.
💡 Pro Tip: Try to send out three emails in this sequence. The third email is merely a reminder, and the second email may provide a discount of 5% to 10%. Additionally, you can choose the number of days that subscribers are prevented from rejoining the flow.
3. “True” Cart Abandonment Workflow
When a subscriber clicks "Add to Cart" on a product page and then exits your business without ever visiting the checkout page, this is known as "True" cart abandonment. In all honesty, only a very small percentage of online store owners are profiting from this niche market of highly qualified members. "Added to Cart" is the metric that needs to be configured. To set it up, read this Klaviyo help article or an article from the ESP you are using. It requires a little more fiddling.
💡 Pro Tip: Usually, this flow consists of two or three emails, but consider sending out four during this BFCM time. You might decide to only offer a discount on the emails that serve as reminders rather than the initial email. or not at all. To customize how frequently you want your consumers to access this flow, you can also experiment with the "14 days" filter.
4. Checkout Abandonment Workflow
The most high-intent shoppers to target are those who abandon their carts. Segmenting them is the most effective strategy to follow up.
🛒 💰 The high-profit checkout abandonment segments
- 💳 First-time checkout abandonment flow: Getting new clients is the most expensive aspect of marketing. Thus, provide as many incentives as you can to entice new customers to return to your store when they leave the checkout!
- 🚶 Checkout abandonment flow for returning customers: essentially, emails reminding them to finish their cart.
- 📈 Split triggers for high- and low-value checkout abandonment: While there's no hard and fast rule here, it's often a good idea to aim 20%–30% above the average order value (AOV). Customise emails according to the amount of cart abandonment.
BFCM is a time to be active in Email & SMS Campaigns. If you don't have one, check out our last-minute activation guide
If you are not using Klaviyo and prefer built-in Shopify automation don't forget to opt-in for new automation workflows.
1. Switch to the new abandoned checkout automation
Caution
The new abandoned checkout automation's activation is a permanent modification. After deciding to participate in the new automation, you cannot go back to the old abandoned checkout emails.
Steps:
- Click Marketing > Automation from the Shopify admin.
- To create an automation, click.
- Choose the Automated Checkout Abandoned template.
- Not required: To modify the email's content or the automation's workflow, click Edit.
- Select "Automate now."
- After reviewing the data, click "Continue."
Once the new automation is activated, its summary page allows you to modify and control it, including turning it on and off.
2. Edit an abandoned checkout email
Note
Customers who have subscribed to email marketing are the only ones who receive the abandoned checkout automation by default. You can change the email's To field and choose All customers to send the message to every client.
The email address from which it is sent, the subject line, the preview text, and the customer list to which it is addressed can all be modified.
Using the same email editing sections as Shopify Email, you can also make changes to the content of your abandoned checkout email. To represent the brand of your store, you can alter the color scheme, add text, and add a logo to your design. Additionally, you can include a coupon that your client can apply when they return to the checkout. Find out more about altering email correspondence.
Tip: Giving clients a discount is a fantastic approach to get them to finish their checkout.
Steps:
- From the Shopify admin, click Marketing > Automation.
- Click Create Automation.
- Select the Abandoned checkout automation template.
- Click Edit > Edit email.
- Click Edit.
- Review the considerations for editing the email, and then click Continue.
- Optional: Edit any of the following:
- Besides To you can select the customer group you want the email to send to.
- Besides Subject: you can change the default email subject line to one that you want your abandoned checkout email to have.
- Besides Preview text: you can summarize your email with text that displays after the subject line.
- Besides From you can click Edit to open the sender email settings to change the email address that the email will be sent from.
- Customize your email message using Shopify email's section editor.
- Click Save.
3. Automatically email a customer a link to their abandoned checkout
You must set up an automated if you want to send emails to abandoned checkout users automatically. A link to the customer's abandoned cart is included in every automation email, enabling them to finish their checkout if desired. You have the option to manually send these emails if you would prefer not to have them sent automatically.
Your prior abandoned checkout settings are carried over when you create a new abandoned checkout automation in the Marketing > Automation area. If you set up a second abandoned checkout automation, it will automatically wait 10 hours to send the email to consumers and will only send it to those who have registered for the campaign.
The workflow for your new abandoned checkout automation, including the wait duration, may be edited using Shopify Flow.
Steps:
- From the Shopify admin, click Marketing > Automation.
- Click Create Automation.
- Select the Abandoned checkout automation.
- Click Edit > Edit workflow.
- Use Shopify flow to edit the workflow.
- Click Turn on workflow when you're done editing.
4. Review automation workflow delivery details
You may view detailed information about a particular automation on the Automation page by clicking on it. For example, you can see whether a customer's email was not delivered after an abandoned checkout attempt. Every sent email is called a Run, and each one has an associated ID.
Steps:
- From the Shopify admin, click Marketing > Automation.
- Under Automation, click the automation that you want to review the results from.
- In the Workflow section, click View Recent Activity.
- Click the email sent, or Run ID, that you want to review the details for.
The details for the email, or Run ID, are displayed under the Results section.
5. Manually send an abandoned checkout email
A customer may receive an email stating that their checkout was abandoned by hand. The customer can finish their transaction by clicking the link in the email that takes them to their abandoned cart. If you haven't set up automation or if your consumer asks for the abandoned checkout link, you might wish to manually send the abandoned checkout email.
Steps:
- From your Shopify admin, click Orders > Abandoned checkouts.
- Click the number of the abandoned checkout that you want to recover.
- Click the customer’s email under the customer information.
The abandoned checkout template appears in the email body when your email client first opens. The Recovery status on the Abandoned checkout page updates to show as recovered if the consumer uses that link to finish their order.


